Learning Objectives
- Create a new Word document.
Opening a New Document
You can open Word from the Start menu (or the Applications folder on a Mac) by clicking on the Word icon. The Word icon comes in a variety of forms depending on your OS and version of Word, but it always features the color blue and the letter W.
| Some examples of Word icons | |||
|---|---|---|---|
 |
 |
 |
|
When you open Word, some versions of Word may take you straight to a new blank document. Newer versions such as Word 2016 will take you to a menu called backstage view to choose to open a new blank document or open a new document from a template. If you already have a file open in Word, you can create a new document by clicking File>New. You can also use the shortcut Ctrl+N (Command+N for Mac).
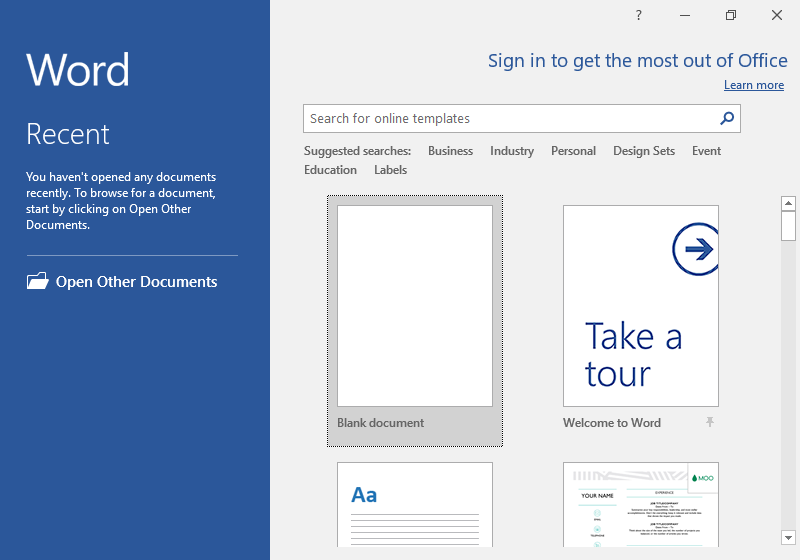
To open a blank document, double-click the blank document option.
Practice Question
Practice Question
Overview of Word Controls
We will cover what many of these buttons and toolbars do in the pages to come. In the meantime, here is a general overview of what you can see in the program. Many of these features are also in other Office products like Excel and PowerPoint, so it’s a good idea to get a handle of the terminology.
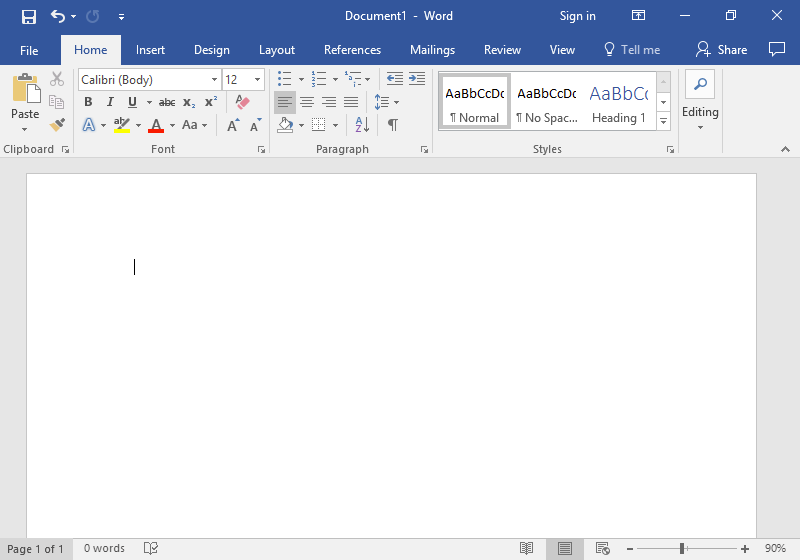
The Word window has three main sections: the ribbon, the document, and the status bar.
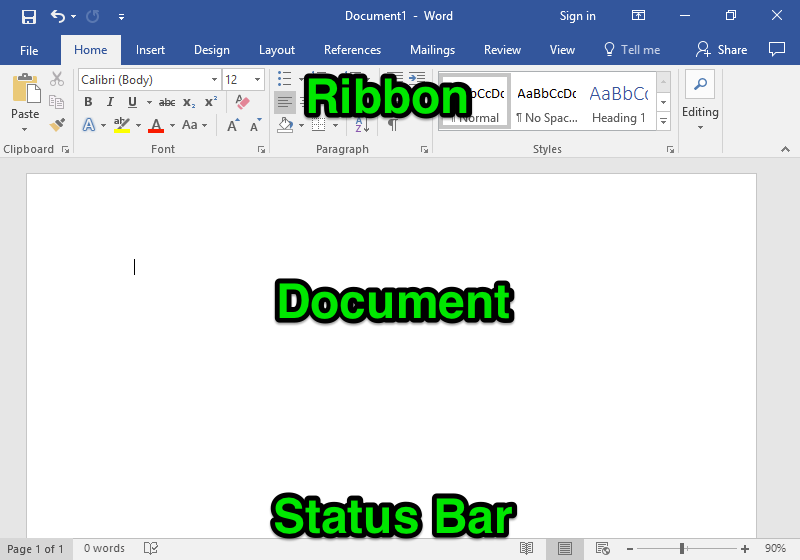
Ribbon
The ribbon is at the top of the Word window and includes the window title bar. The ribbon below is for Word 2016. If you have a different version, your ribbon may not look exactly the same. However, most features will look similar and be near a similar area. If you have a different version of Word and you cannot find the feature you need, run a web search for where is feature/button word version, replacing feature/button with the feature or button you are trying to find and version with your version number. For example, if you are using Word 2010 and can’t find the controls for adding a column, run a web search for where is column word 2010.

- Quick access toolbar. The quick access toolbar shows commonly used commands so that you can execute those commands with one button instead of a couple. By default, the quick access toolbar has (from left to right) Save, Undo, and Redo. You can customize which commands are available in the quick access toolbar by clicking the arrow to the right of the Redo button.
- Tabs. The tabs on the ribbon are a way of organizing the many tools and options Word has. Clicking each tab provides a whole new set of options. The tabs you will most frequently use are the File tab and the Home tab.
- Currently selected tab. The Home tab is selected by default when you open Word. The currently selected tab is white, while the other tabs are blue.
- Group names. Within each tab, commands are grouped according to type. Those type names are near the bottom of the ribbon. For example, the Font group contains all the font tools and options.
- Dialog box. Clicking the small, boxed-in arrow at the bottom right-hand corner of each group opens a dialog box with more options for each group.
- Hide ribbon. If you find the array of buttons too distracting, you can hide the ribbon by pushing the arrow at the bottom-right corner of the ribbon. You can reopen the ribbon with the ribbon display options.
- Ribbon display options. The ribbon display options allow you to hide or reveal all or parts of the ribbon.
Status Bar
The status bar is at the bottom of the Word window. Again, your status bar may look different or not even be visible, but here is an explanation of what many icons on the status bar mean.

- Page count. The page count shows the total number of pages in the document and which page is currently visible in the window.
- Word count. The word count displays the total number of words in the document.
- Spelling/grammar check. A tiny checkmark on the book icon indicates that there are no spelling or grammar errors. When there are spelling or grammar errors, the checkmark becomes an X. Clicking the icon then will show options for correcting each mistake.
- View options. From left to right: Read Mode, Print Layout, and Web Layout. By default, the document is in Print Layout. This changes how the document appears in the Word window; it does not affect how the document appears when sent to others, viewed on a different computer, or printed. (Click each image to enlarge.)

Read Mode

Print Layout

Web Layout
- Zoom. By moving the bar to the left or right, you can zoom in and out of the document. This allows you to see the entire page at once or to magnify a small part of the document.
To customize the status bar, right-click on it to see a dialog menu that allows you to check and uncheck tools you want displayed.
Candela Citations
- Microsoft Word Logo. Authored by: Microsoft. Located at: https://commons.wikimedia.org/wiki/File:Microsoft_Word_logo.png. License: Public Domain: No Known Copyright. License Terms: According to Microsoft Trademark & Brand Guidelines, this logo may be used 'in text solely to refer to and/or link to Microsoft's products and services.'
- Wordmac. Authored by: Microsoft. Located at: http://logos.wikia.com/wiki/File:Wordmac.jpg. License: Public Domain: No Known Copyright. License Terms: According to Microsoft Trademark & Brand Guidelines, this logo may be used 'in text solely to refer to and/or link to Microsoft's products and services.'
- Microsoft Word logo (2000-2003). Authored by: Microsoft. Located at: http://logos.wikia.com/wiki/Microsoft_Word. License: Public Domain: No Known Copyright. License Terms: According to Microsoft Trademark & Brand Guidelines, this logo may be used 'in text solely to refer to and/or link to Microsoft's products and services.'
- Microsoft Word logo (2007-2010). Authored by: Microsoft. Located at: http://logos.wikia.com/wiki/Microsoft_Word. License: Public Domain: No Known Copyright. License Terms: According to Microsoft Trademark & Brand Guidelines, this logo may be used 'in text solely to refer to and/or link to Microsoft's products and services.'
- Creating and Saving a File. Authored by: Lumen Learning. License: CC BY: Attribution
