Learning Outcomes
- Add data to a table.
Excel workbooks are used to organize data very clearly. Numerical data can be used in a variety of ways, some of which we will examine in later modules. The first step, however, is simply to enter data into a table.
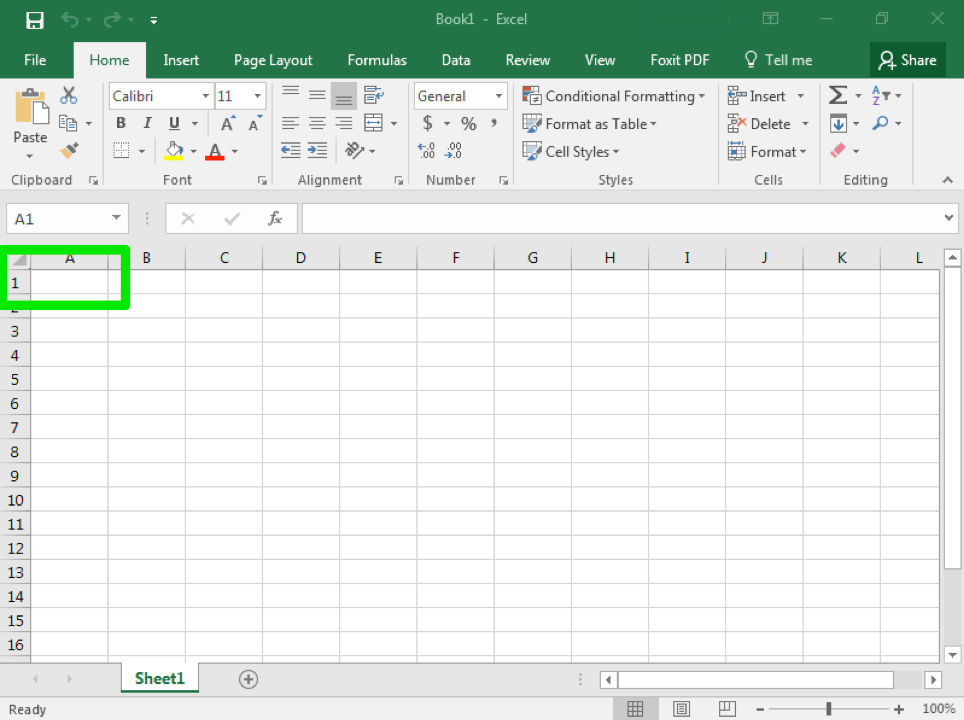
First, open a blank workbook. Next, click on the first cell for your data: this will almost always be A1.
If you wish to organize your data in a column, you will hit ENTER to move to the next cell down. In this case, A2.

If you wish to organize your data in a row, you will hit the Tab key to move to the next cell over. In this case, the next cell over is B1.

Enter all of your data into each individual cell until you are ready to save your workbook.
Just as with word processing, when using spreadsheets, there are different file types as well. The default file type is .xlsx (Excel Workbook). For example, in the screenshot below, inputting a file name of Book1 and saving with the default file type of Excel Workbook would result in a file that is named Book1.xlsx. Note that you do not type in the file extension as part of the file name.

Practice Question
Candela Citations
- Enter Data into a Table. Authored by: Shelli Carter. Provided by: Lumen Learning. License: CC BY: Attribution
