Learning Objectives
Consider questions of accessibility in using audio-visual presentation aids.
If you distribute PowerPoints electronically, important considerations include text formatting, alt text for images, reading order, design, and sharing the notes section, if applicable. As with all text documents, use built-in heading styles rather than changing the size and style manually and use bulleted lists rather than dashes in front of text that look like bullets.
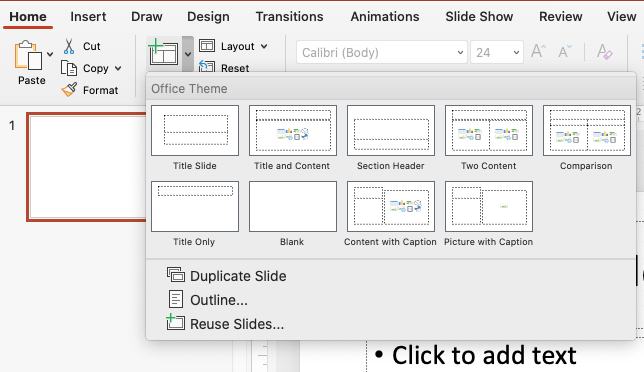
Use Slide Layouts
A key theme to remember when creating accessible documents is to use the built-in features and provided layouts rather than going rogue. For instance, use the slide title box that is provided in PowerPoint to convey the main concept on the slide.

PowerPoint Design
Design your slides simply and avoid images that do not add meaning to your slide and are for decoration only, both because they distract viewers and because they take up valuable space on your slide.
Ensure that there is adequate contrast on your slides—for instance, black text on a white background. Contrast is even more important in a setting where the presentation is projected than if being viewed on a computer screen.
Avoid the colors orange, red, and green because they are difficult for people who have color deficiencies to see. Also, avoid using color as the only way to signify meaning. Some alternatives include boldfaced or italicized text.
Reading Order
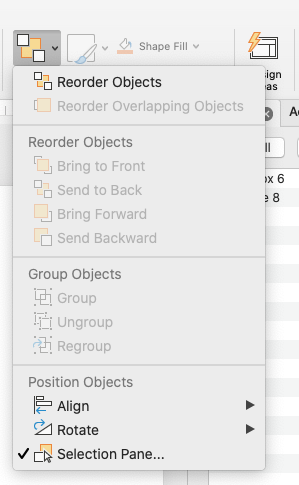
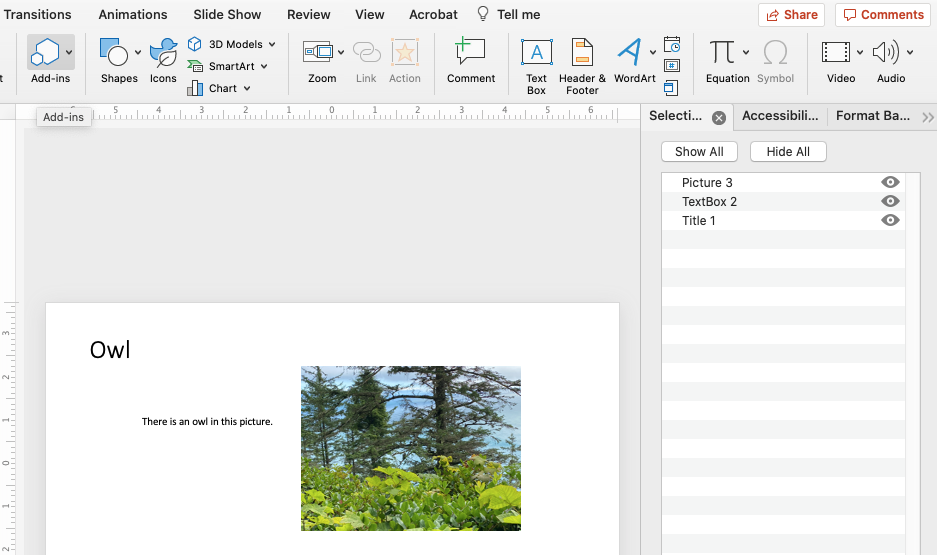
Reading order refers to the sequence in which a screen reader reads the information on a slide or webpage. If you’re using the pre-built templates in PowerPoint, the reading order should be straightforward: it will read the title first, followed by other elements in the slide. If you’ve adding other “floating” objects, you’ll want to check the reading order to make sure it will make sense to screen-reader users. Choose Home > Arrange > Selection Panel.

The elements on the page are listed in the Selection Panel on the right. The reading order is from bottom to top. Another way to think about it is that the element at the bottom of the list is in the front of the slide.
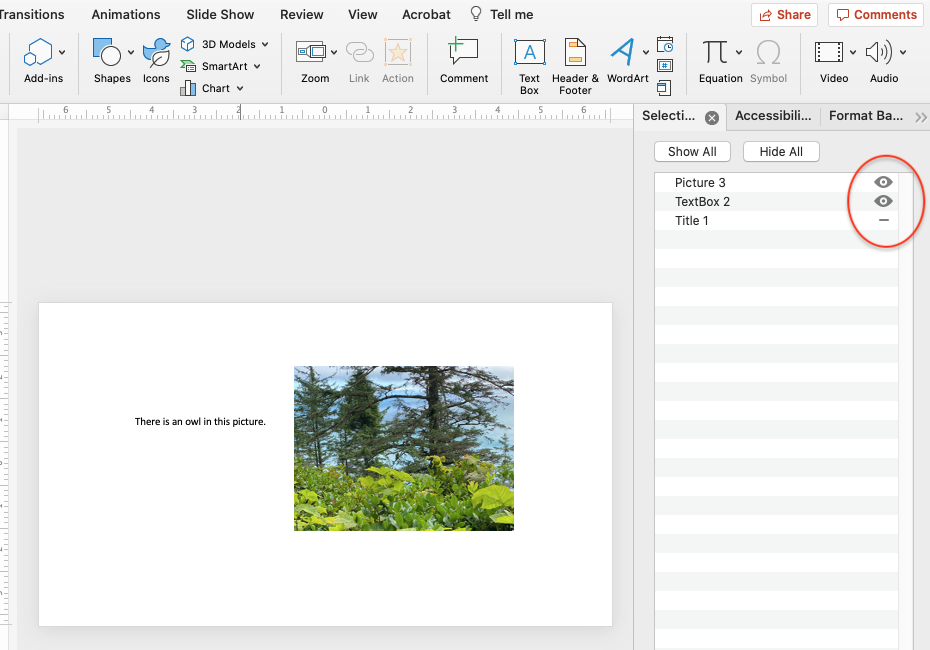
Below, we’ve made the title invisible by clicking on the eye icon in the Selection Panel. It’s still there to help the user of a screen reader know what this slide is about, but it’s not visible in the slide.
Perhaps because the bottom-to-top reading order is counterintuitive, PowerPoint also offers another view if you choose Arrange > Reorder objects.
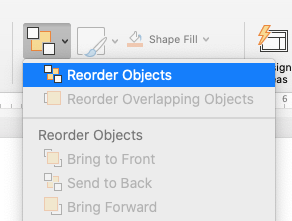
In this view, we can see that the title, “Owl,” which was at the bottom of the Selection Panel list, is the front layer here
 |
 |
 |
Avoid Using Text Boxes
All of your text should show up under Outline view. If you notice text is missing, it may be in a text box rather than the title box. Text boxes are found under the Insert tab. Unfortunately, screen readers cannot consistently access text in a text box and they are often not in a logical reading order.

But I Like Text Boxes…
An alternative would be to use one of the layouts that provide multiple content areas. “Two Content” will give you a title and two accessible text boxes while “Comparison” gives you four accessible text boxes. You can also add additional “placeholders” for more text or content areas in the Slide Master (see page 2 of California Disability Access Services).
Alt Text for Images
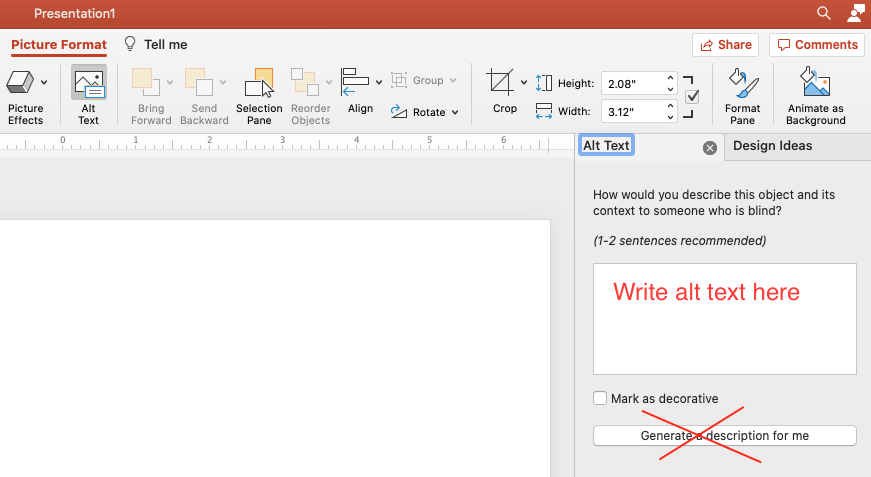
All your images need alt text. Alt text is a description of the image that a screen reader will read. WebAIM’s alt text article is highly recommended.
To add alt text to an image in a PowerPoint, select the image and then right click and choose Format Picture (or click on Picture Format in the ribbon). Write your alt text into the box. Don’t use the “Generate description for me” feature!
SmartArt
SmartArt is a function in Microsoft Office products that helps represent ideas visually. Treat SmartArt graphics like an image and make sure to add alt text as they are not screen reader friendly. Add alt text to the entire object rather than each individual element.
The Notes Area
Text in the notes area below the slide will not automatically be read by a screen reader. This lack of automation is one reason it is preferable to share a PowerPoint file in a different format, such as PDF. The screenshot below shows where the notes are in PowerPoint.

Tables
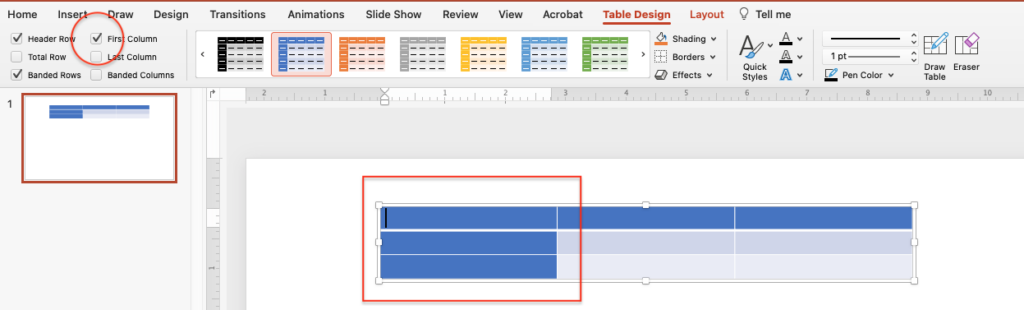
When inserting a data table, it’s important to identify row and column headers to make the table more accessible to screen-reader users. In PowerPoint you can specify a single row of column headers and a single column of row headers.

Links
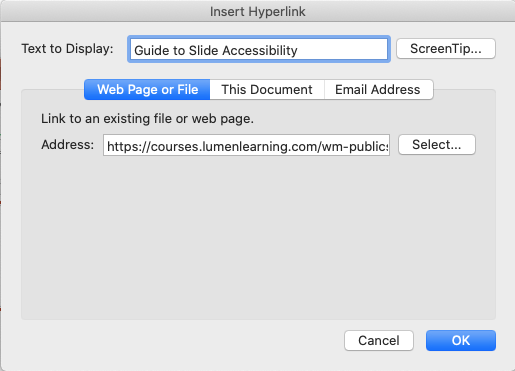
Accessible links are descriptive (rather than just saying “Click Here” or giving a full URL) because a screen reader user needs to know where the link leads. When inserting a link into your slide, you’ll see a dialogue box that allows you to change the display text to make it descriptive.
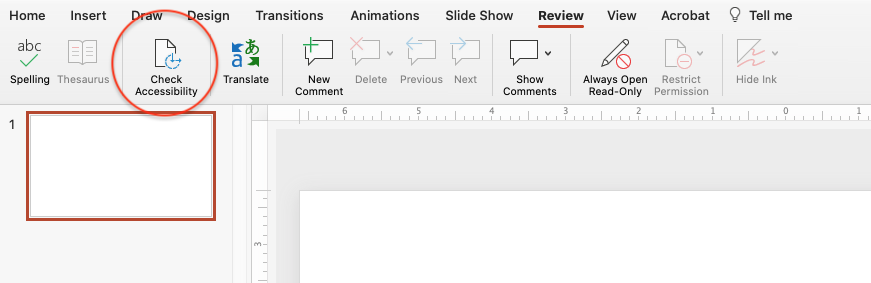
Check Accessibility
To run an automated accessibility checker in Windows, choose File > Info. Select Check for Issues > Check Accessibility. On a Mac, go to the review tab and select Check Accessibility.
For more on PowerPoint Accessibility, see WebAIM’s PowerPoint Accessibility guide.
Digital Accessibility Checklist
Organizing content
- Content is organized under headings and subheadings.
- Headings and subheadings are used sequentially (e.g., Heading 1, Heading 2).
Images
- Images that convey information include alternative text (alt text) descriptions of the image’s content or function.
- Graphs, charts, and maps also include contextual or supporting details in the text surrounding the image.
- Images do not rely on color to convey information.
- Images that are purely decorative do not have alt-tag descriptions. (Descriptive text is unnecessary if the image doesn’t convey contextual content information).
Links
- The link is meaningful in context and does not use generic text such as “click here” or “read more.”
- Links do not open in new windows or tabs.
- If a link must open in a new window or tab, a textual reference is included in the link information (e.g., “[NewTab]”).
Tables
- Tables include row and column headers.
- Row and column headers have the correct scope assigned.
- Tables include a caption.
- Tables do not have merged or split cells.
- Tables have adequate cell padding.
Multimedia
- A transcript is available for each multimedia resource including relevant, non-speech content.
- Transcript includes:
- speaker’s name
- all speech content
- relevant descriptions of speech
- descriptions of relevant, non-speech audio
- headings and subheadings
- Transcript includes:
- Captions of all speech content and relevant non-speech content are included in the multimedia resource, including the audio synchronized with a video presentation.
- Audio descriptions of contextual visuals (e.g., graphs, charts) are included in the multimedia resource.
Formulas
- Formulas have been created using MathML.
- Formulas are images with alternative text descriptions if MathML is not an option.
Font size
- Font size is 12 point or higher for body text.
- Font size is 9 point for footnotes or endnotes.
- Font size can be zoomed to 200%.
Candela Citations
- Accessible Course Design: Powerpoints. Authored by: April Pierson and Gracia Larson, adapted by Lumen Learning. Provided by: University of Wisconsin System Learning Technology Development Council (LTDC). Located at: https://accessiblecoursedesign.wordpress.com/powerpoint/. Project: Accessible Course Design. License: CC BY: Attribution
- Accessibility Checklist. Provided by: BCcampus. Located at: https://opentextbc.ca/accessibilitytoolkit/back-matter/appendix-checklist-for-accessibility-toolkit/. Project: Accessibility Toolkit - 2nd Edition. License: CC BY: Attribution
- Screenshots. Authored by: Lumen Learning. License: CC BY: Attribution