Learning Objectives
Explain the basic steps of creating a presentation with PowerPoint.
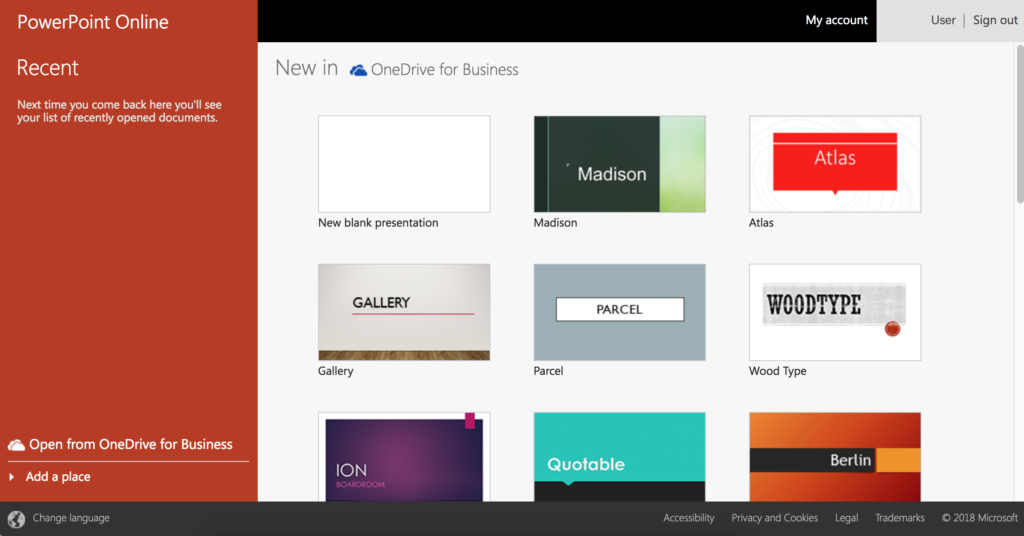
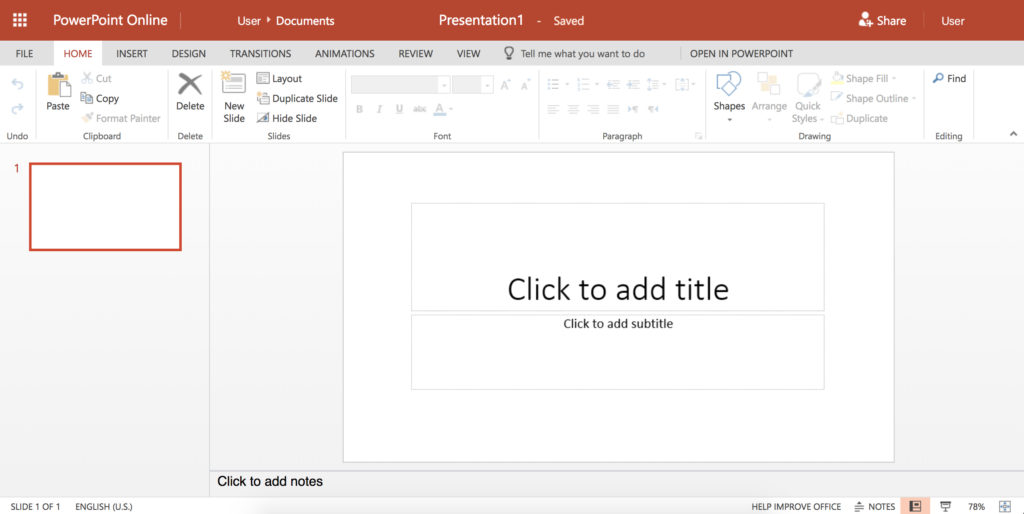
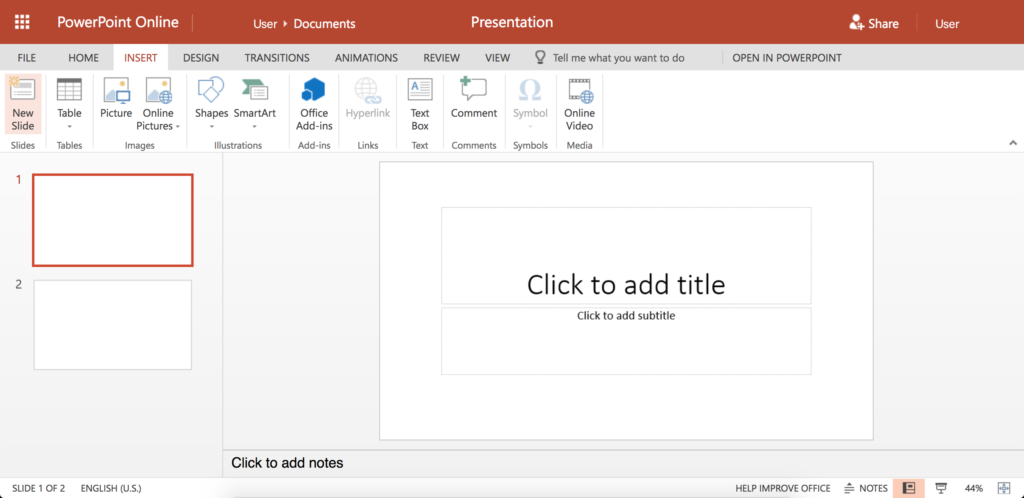
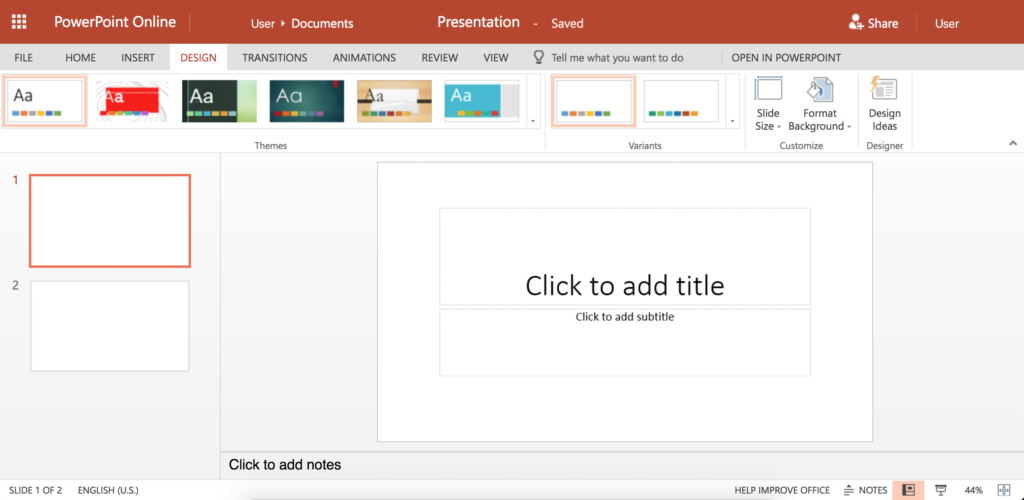
When you open PowerPoint, the application will take you to a presentation gallery (see Figure 2), where you can choose to either open a new blank presentation or start a presentation using a template. To start with the proverbial blank page—no pre-set graphics, backgrounds or text—click (or double-click, depending on your version) New blank presentation. You’ll be presented with a new blank presentation title slide containing two text boxes for a title and subtitle. These are placeholders that can be used, deleted, or simply ignored.
If you want to use the default layout, click where it says Click to add title and type in your text. Note that when you click in the text box, the prompt text disappears and is replaced with a flashing cursor. To finish your entry, simply click outside the box. Pressing the enter or return key after typing your text will act as a return and advance the cursor to the next line. If you pressed return and don’t want a two-line title, simply press the Undo arrow under the File tab at the top left of your screen (or if you’re using Windows, press Ctrl + Z on your keyboard; if you’re using a Mac, press Cmnd + Z). To continue adding or editing text, click the text or within another text box and continue.
Placeholder boxes and prompts don’t show up in Slide Show or presentation mode, so you don’t necessarily need to delete those you don’t use. If, however, you find them distracting, click on the border of the placeholder and press either the delete or backspace keys on your keyboard.
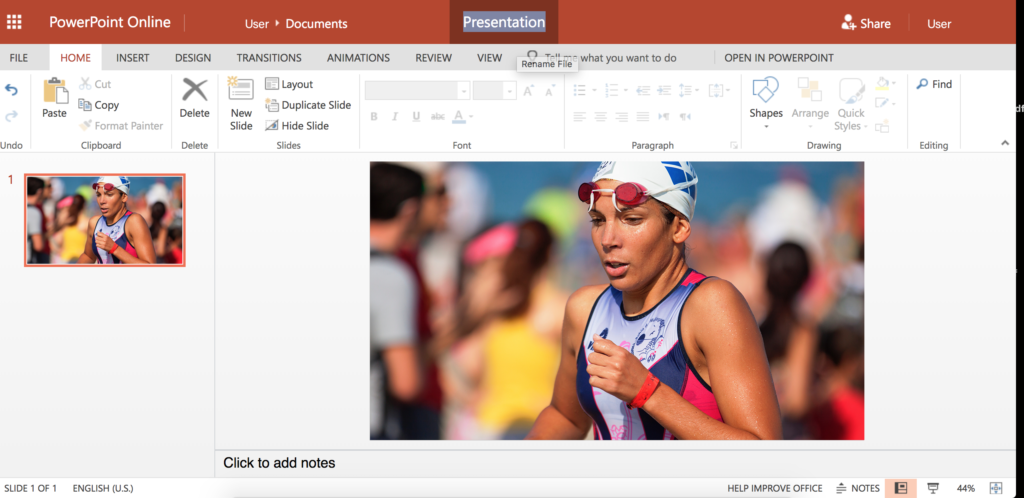
As mentioned above, the web-based version of PowerPoint will save your file automatically, assigning a default title of Presentation. If you have multiple presentations in progress, it will save subsequent files as Presentation1, Presentation2, etc. To (re)name your presentation, click the default title, type your desired title and press enter.
Saving Documents When Working Offline
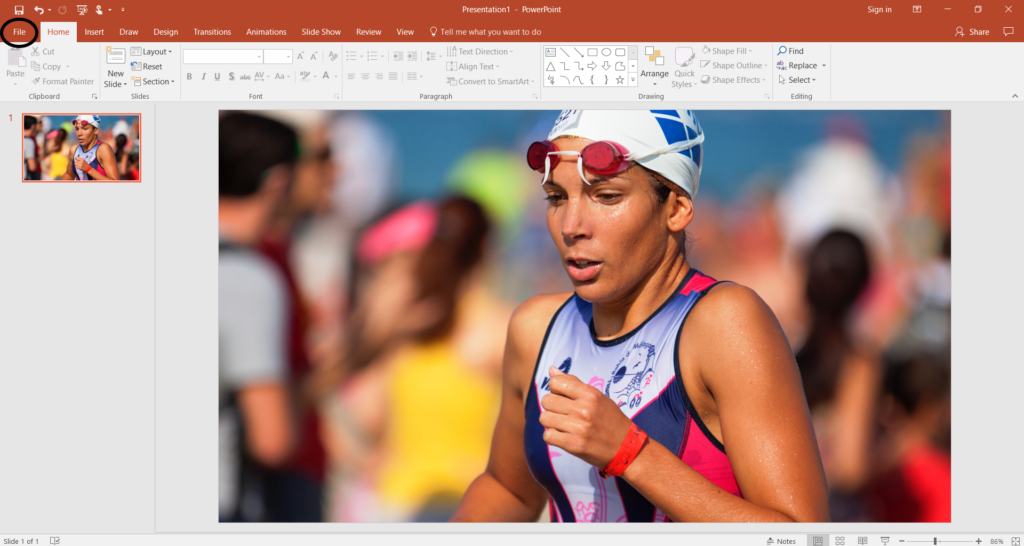
If you’re not working with PowerPoint Online, you will need to save your presentation manually: click on the File tab.
You’ll then click Save or Save As in the menu along the left side of the screen. Note: you can also use the common keyboard shortcuts Ctrl + S (Windows) or Cmnd + S (Mac).
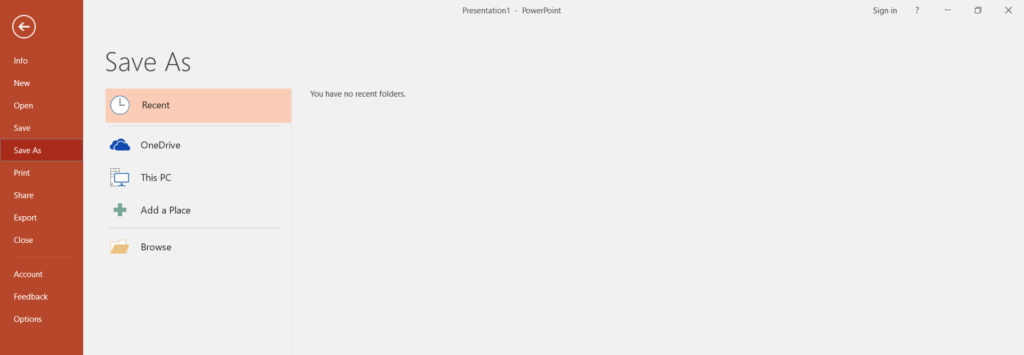
To save your presentation on your desktop, choose This PC, select my Desktop and tile your presentation—for example, “To-the-Bank Retail Trends.” At this point, you will also choose the format you want to save your presentation in Save as type. If you will be sharing your presentation with other students or colleagues who are using an older version of PowerPoint, select PowerPoint 97-2003 as the type from the drop-down list. Otherwise, go with the default option.
Practice Questions
Now that you’ve created a presentation, let’s start adding to it! If you closed your presentation after saving, you can reopen it by starting PowerPoint and selecting your presentation (i.e., To-the-Bank Retail Trends) listed under Recents.
Adding Slides
You can add a slide from either the Home tab, Insert tab or Thumbnail pane.
From the Home Tab

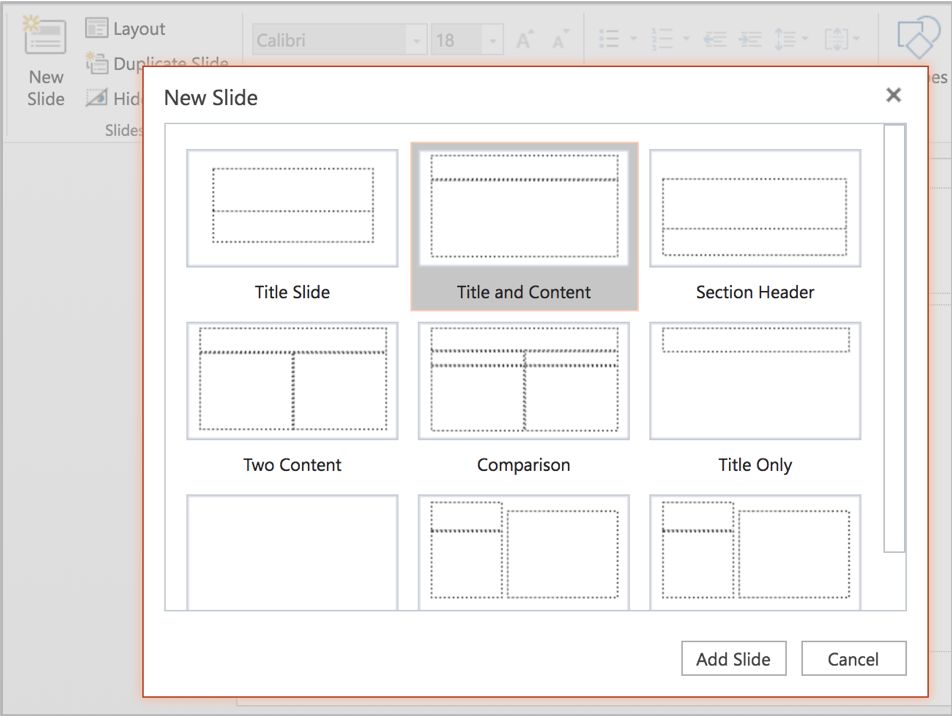
- Click on New Slide (or Duplicate Slide, to copy the current slide layout)
- If you clicked New Slide, select a layout that best fits your content
- Press enter
From the Insert Tab
- Click on New Slide
- Select a layout
- Press enter
From the Thumbnail Pane
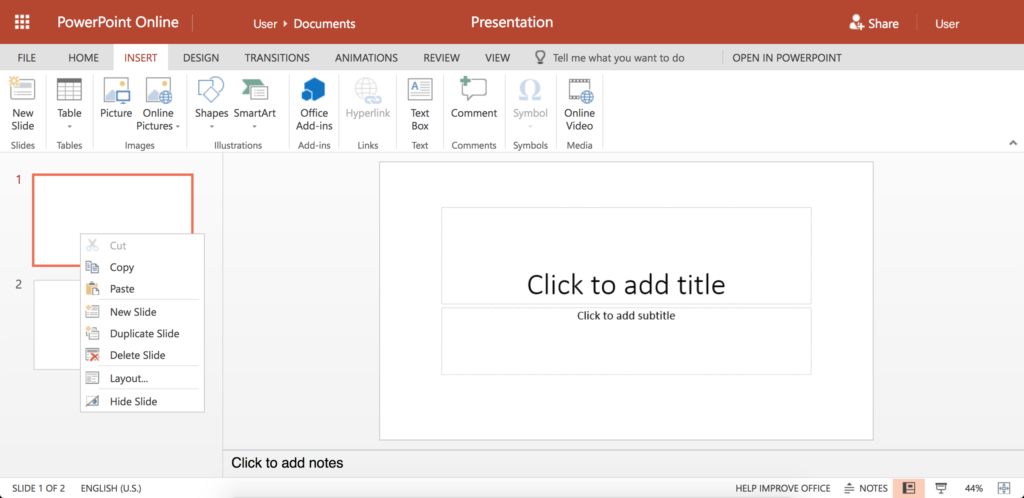
You can also add slides from the thumbnail pane, the lefthand column of your screen when you’re in the default or Slide view.
- Select (highlight) the slide you want the new slide to follow
- Right-click on the slide
- Select New Slide for the default content slide layout or Duplicate Slide to copy the slide layout and content
OR, to use a shortcut to duplicate the slide layout (not content)
- Select (highlight) the slide you want the new slide to follow
- Press Ctrl + M (PC) or Cmnd + M (Mac)
Note that your layout choice isn’t final, so don’t overthink the decision. If you’re just trying to get your thoughts down on slides, select Duplicate Slide and fine-tune later.
Deleting a Slide
As with most operations, there are multiple ways to delete a slide:
- Highlight the slide in the thumbnail pane and press delete
- Highlight the slide in the thumbnail pane and press the delete icon (Home tab)
- Highlight the slide in the thumbnail pane, right click and select Delete Slide
Organizing Slides
To move a slide, simply drag and drop in the thumbnail frame.
Practice Questions
Inserting Text Boxes
There are multiple ways to insert text into your slides. One of the ways to enter text, as discussed earlier, is to click inside a placeholder box and enter your text. However, you may want to add text to a blank slide or in a place where there is no placeholder. To do so, select the Insert tab on the ribbon, and choose Text Box.

A text box will be inserted in your slide with a Click to insert text message similar to the placeholder Title and Subtitle boxes discussed earlier. The text box will expand to fit your text. If you decide you want to reposition the text box, you can click and move the text box/text around the slide. If you want to modify the width of the text box, click on a corner and drag it out as desired. The circular icon at the top of the text box activates the drawing and formatting options and allows you to rotate the text box.
Changing the Theme on a Presentation
Themes are one of the formatting options within PowerPoint. A theme is a slide design that contains pre-set colors, fonts, formatting and/or images. To view formatting options, click on the design tab and scroll through the available themes.
Clicking on a theme’s thumbnail applies the formatting to your slides, so you can evaluate potential fit. A second group of options in the ribbon provides color variations on that design. A third option, exclusive to the online version of PowerPoint, is Design Ideas, providing additional variations; this feature is still being built out. To revert to your original format, click Undo.
One caveat: given the limited number of templates and the number of people using PowerPoint, using a standard template doesn’t do anything to distinguish you or your message. Instead of selecting a standard template, use thoughtful images and complementary fonts to add design impact.
Practice Questions
Adding Images and Clip Art
Adding art, images and photographs is a way to both personalize your slides and reinforce your message.
Adding visual elements to your slides is done from the Insert tab. Images can also be inserted directly from a new slide using the Add Pictures, Online Pictures or Online Video icons embedded in new slide layouts.

To add pictures from your computer
- Select the Insert tab
- Click on Picture
- Select your desired image
- Press Open to insert
The Add Pictures From the Internet option allows for two possibilities: searching via Bing and uploading images from OneDrive (Microsoft’s cloud storage product). Of course, you can also do an image search using Google Images or your preferred search engine, download images to your desktop and upload them to your presentation using the steps above. Don’t be put off by the initial Bing images served up. Bing’s filters allow you to search by size (small, medium, large, extra large), type (all, photograph, clip art, line drawing and transparent), color (all, color, B&W and by 12 basic colors) and license (all or Creative Commons only).
To add pictures from the Internet
- Select the Insert tab
- Click on Online Pictures
- Type in your search term(s)
- Refine your image search using Bing’s size, type, color and license filters
- Select an image
- Press Insert to insert into slide
- Use the corner image “handles” (small boxes) to size

Practice Question
Adding Videos
Adding video allows you to incorporate both motion and sound into your presentation and this can translate into audience energy! As with other visual elements, video is an Insert tab command.

The add video command launches a YouTube video search. To see video details, hover over the video. To view the video once embedded, click on the View tab, select Current Slide and press Play.
To add video
- Select the Insert tab
- Click on Online Video
- Enter your search terms
- Select your desired video
- Press Open to insert

Practice Question
Candela Citations
- Microsoft PowerPoint: Getting Started. Authored by: Nina Burokas. Provided by: Lumen Learning. Located at: https://courses.lumenlearning.com/wm-businesscommunicationmgrs/chapter/new-presentations/. License: CC BY: Attribution
- Triatleta photo. Authored by: Quino Al. Located at: https://unsplash.com/photos/PTWyikFE3sc. License: CC0: No Rights Reserved