Learning Objectives
- Add images and clip art
- Add videos
- Arrange objects
Images and Clip Art
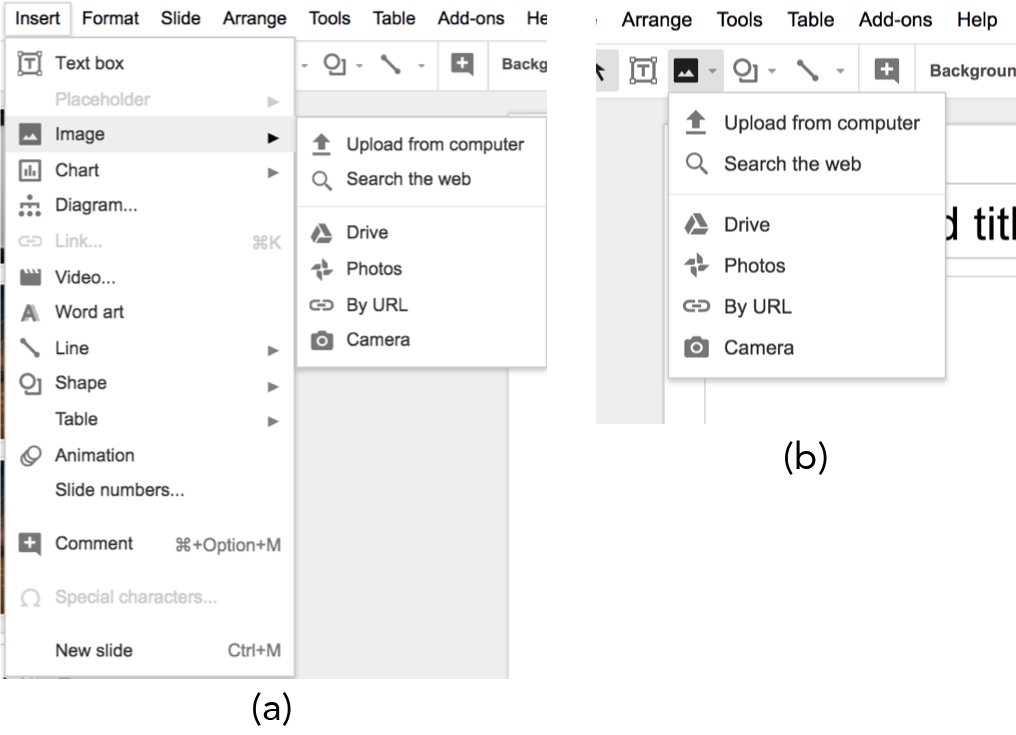
Figure 1.
Using art and images adds impact and provides welcome relief to the challenge of processing information-intensive slides. To insert an image, select Insert > image or the image icon, to the right of the Text box icon. As shown in Figure 1, there are multiple options for accessing images; you can also access these options using the drop-down menu to the right of the Image icon. You can upload images from your computer, use the camera on your device to take a photo, link to an image using a URL, or Search Google Images. Selecting Search the Web will link you to Google Images, where you can use a keyword or keywords to search for images, including quote images based on your keyword(s).
When your results appear, you’ll see a small magnifying lens in the bottom right corner of the images. Clicking on the magnifying lens allows you to preview the image prior to selection/inserting. To exit preview (if you don’t want to choose this image), press the left (return) arrow to return to the search options.
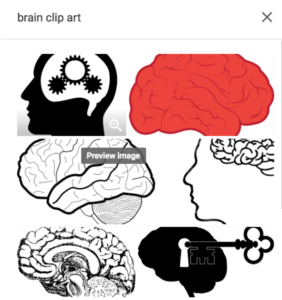
Figure 2.
To select an image, click on it and click on the INSERT button at the bottom of the window. The image will be inserted into your current (highlighted in the thumbnail) slide. If you change your mind, press the escape key (ESC), Undo, or Ctrl+Z to reverse the Insert operation.
To incorporate clip art, select Insert > Image to open the Google Image browser. In the Search area “Search for Google Images,” enter your keyword or desired image and clip art as your search terms. For example, “brain clip art” or “brain + clip art.” For more professional images, include “stock” – stock image or stock photo – in your search. For example, “brain stock image.”
Images shown are generally in the public domain or labeled for commercial use with modification, but as the disclaimer on the Google Image window notes, you are responsible for ensuring that your intended use is in accordance with the image creator’s license.
Practice Question
Videos
Adding video to your Google slides adds yet another level of visual interest and engagement. To incorporate video:
- Select Insert > Video from the main menu. A window will appear where you can search for a YouTube video, or you can select URL at the top of the window, and paste a URL for a specific YouTube video.
- Click on a video to select it and press the Select button to embed it in your current slide. Your video is now embedded in your slide.
![Screenshot of inserting video to Google slides. Image shows YouTube search bar with search term 'learning strategies'. Below are three video results for the search term. The video that is selected is titled "Highly Effective Learning Strategies [Animated Whiteboard Short]".](https://s3-us-west-2.amazonaws.com/courses-images/wp-content/uploads/sites/2785/2018/03/05192733/8.3.11-1024x637.png)
Figure 3.
Practice Question
Arranging Objects
When you’re creating a slide with multiple elements—for example, layering text, imagery, lines, shapes or other objects—you may find a need to arrange the elements or objects.
To manage objects on a slide:
- Click Arrange from the main menu.
- Choose from the following options:
- Order: Put the object behind or in front of text, other objects, or images.
- Align horizontally or Align vertically: When you select multiple objects, you can align the edges of the objects.
- Center on page: Center objects vertically or horizontally on a slide.
- Rotate: Change the orientation of an object, by flipping or rotating it.
- Distribute: When you select three or more objects, you can evenly distribute the space between them.
- Group: Lock multiple objects together to make them easier to move around and format.
The Google Slides grid line feature, enabled by default, also provides a visual to help with alignment. When you click and drag an object, you will see colored lines appear that will help you align the object with other objects on the page. This setting (View > Snap to > Guides) is selected by default.
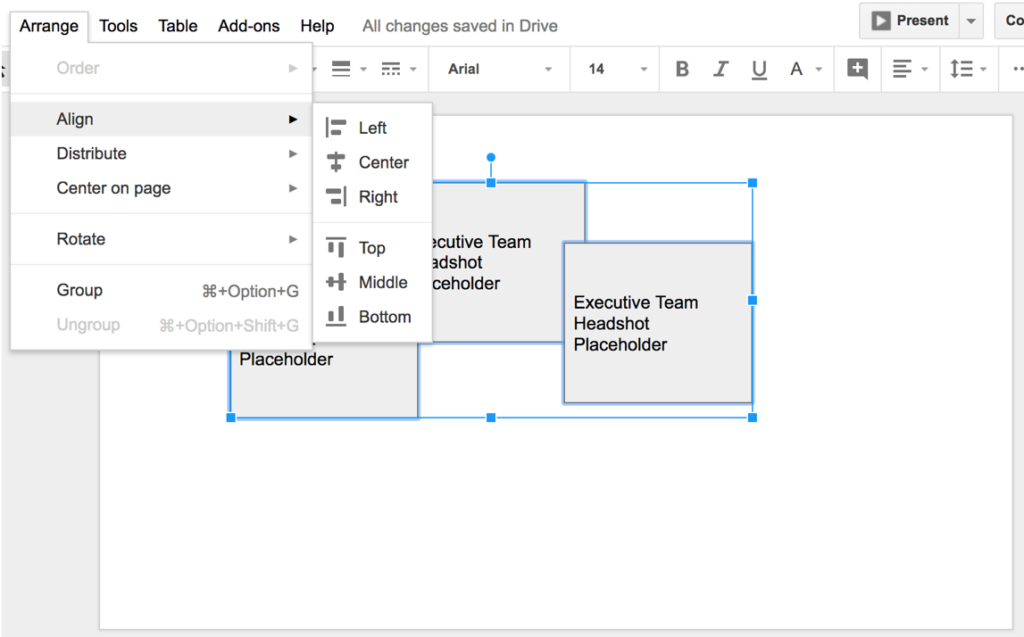
Figure 4.
PRactice Question
Candela Citations
- Images, Videos, and Arranging Objects. Authored by: Nina Burokas. Provided by: Lumen Learning. License: CC BY: Attribution