Learning Outcomes
- Use Microsoft Word to create a visually appealing and accessible document
This page provides guidance on how to use key features of Microsoft Word to create your business communication. If you can envision the page layout, there is a way for the software to do it. If the instructions are not found below, it is likely someone has made a YouTube video of just what you want to do.
Getting Started in Word
The following seven-minute video demonstrates how to use Microsoft Word to create a letter and format it properly. Software versions do change over time, so worry less about the details and more about how the information is entered. Each new version retains the core features of all versions before it, so it will still be easy to use with a few adjustments. There are some differences when working on a PC versus an Apple product. These instructions are for the PC, but the basic idea is the same.
Line and Paragraph Spacing in Word
Business communications, unlike writing intended for an academic setting, use single line spacing, as seen in the images below. Both kinds of documents use a left alignment or justification, while business documents might have an unjustified right edge (which leaves line-ends ragged) or fully justified blocks, which are nice and neat on both right and left but might do some funky things with internal spacing to achieve the neatness.
| Avoid | Try | ||
|---|---|---|---|
|

1.0 spacing |

To change the line spacing, select the lines you want to change. Then go to the Home tab and find the line spacing button in the Paragraph section. The line spacing button triggers a dropdown menu from which you can select a line spacing.
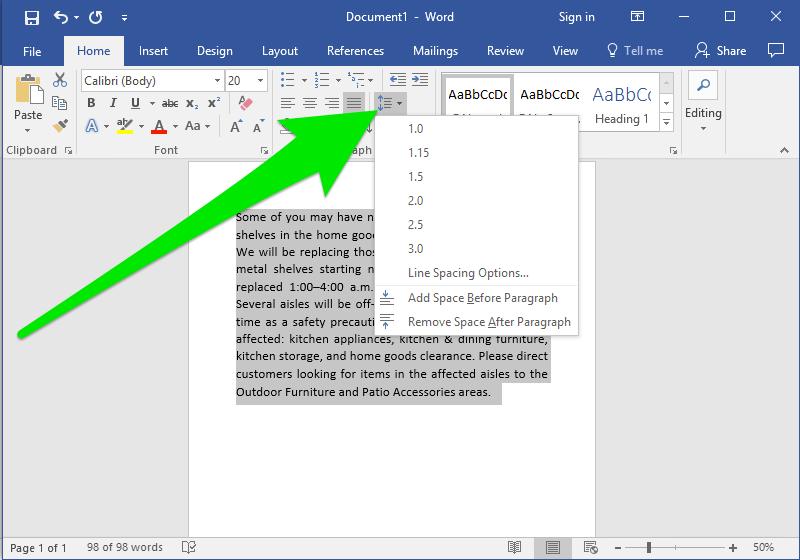
The numbers in the line spacing dropdown menu reflect how much the line spacing will increase relative to the size of the line. For example, a line spacing of 1 means the line spacing will be as large as one line, a line spacing of 2 means the line spacing will be the size of two lines, and so on.
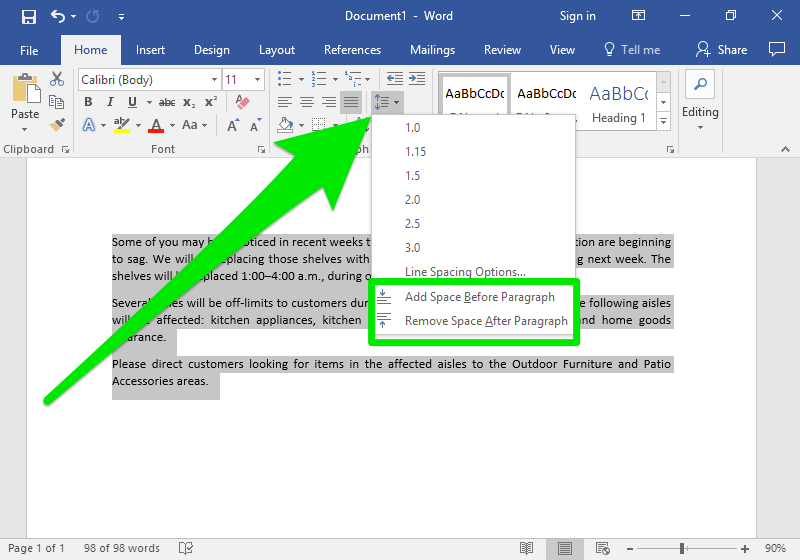
You may have noticed that by default, Word adds a space between each paragraph. You can change the size of that space or eliminate it completely by changing the paragraph spacing. There is an option to Add Space Before Paragraph or Remove Space After Paragraph in the line spacing menu.
Practice Question
Headers and Footers
Headers and footers are the top-most and bottom-most sections of the document respectively. They are formatted as separate sections from the main document, and are often used to hold footnotes, page numbers, titles, and other information.
Your company likely has conventions and rules in place for the content of headers and footers and also for where page numbers are to be placed. There are, a few standard guidelines to note:
- Page numbers go in the header or footer. Once you decide where to put the page number, Word will keep track of it for you.
- Business letters do not have headers, and they get page numbers only if they run to three or more pages.
- Footers containing page numbers can start on the first page.
- For headers and footers in reports, see Module 6.
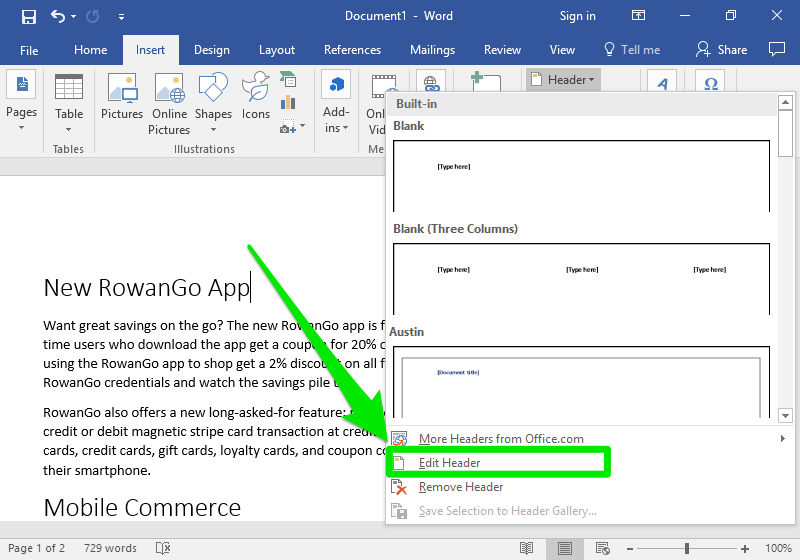
The header and footer controls are in the Header & Footer group of the Insert tab. (Insert > Header & Footer)

The Header and Footer options each contain a dropdown menu. Click one of the Built-in options to insert it, or select Edit Header (or Edit Footer) to edit the header (or footer).
The header/footer will be represented by a dotted line. While in header/footer mode (when the dotted lines are visible), you cannot edit the main text. You can go back to editing the main text by selecting the Close Header and Footer option on the right side of the ribbon.
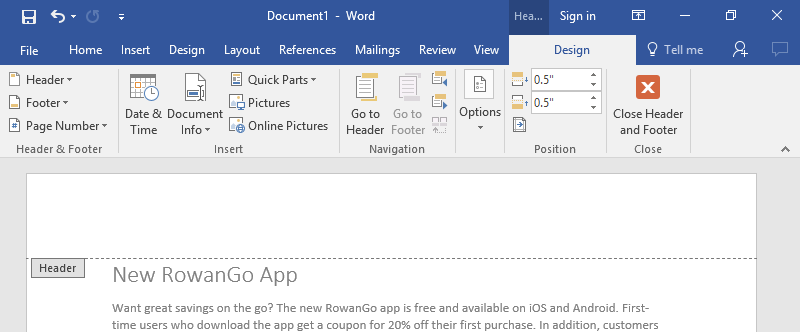
Figure 1. Header.
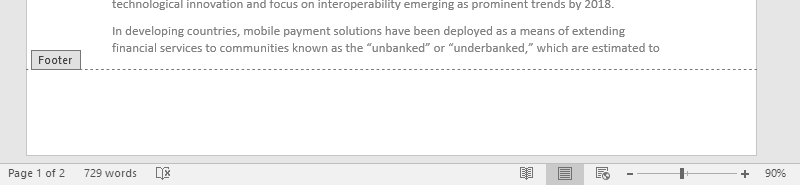
Figure 2. Footer.
The information in the header or footer is repeated in every header or footer in the document unless you check “Different First Page,” which allows you to format the first page differently from the rest of your document. You can also create a break in your document where the header and/or footer change to accommodate a new section.
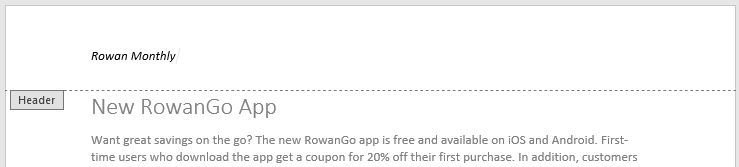
Figure 3. First page.
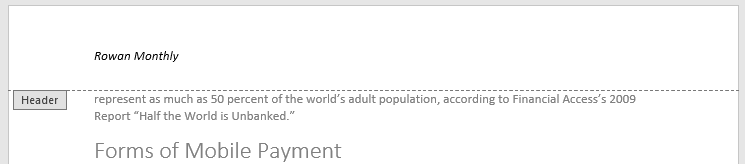
Figure 4. Second page.
Spell Check and Grammar Check
You’ve probably seen the red wavy lines indicating a misspelled word as you type a document. Sometimes, those red lines are helpful, saving you from making an embarrassing typo. Other times, they are annoying and distracting. In this section, we will cover how Spell Check works and how you can best use it to your advantage.
The spell checker tool compares every word you type against Word’s dictionary or database of words. If a word isn’t in this dictionary, the word is marked misspelled with a red underline. This means words that are correctly spelled may be marked as misspelled, especially brand names, specialized industry or scientific terms, and words in another language. With a little tweaking, you can teach Microsoft Word (and other Office programs) how to spell uncommon words and names you use regularly. That way, genuine mistakes are not lost in a sea of red underlines.
Most word processing software has spell and grammar check automatically turned on, so your errors are marked as you work. However, you can also run spell and grammar check manually by pressing F7, or by locating the Spelling and Grammar Check in the Review tab in the ribbon.
Sentence Length and Word Count
Earlier in this module concise writing was emphasized. How do you know your average sentence length? Word has a feature that helps track the lengths of sentences. Here’s how:
- Go to File > Options > Proofing and look for “When correcting spelling and grammar in Word.”
- Now check the box for “Show readability statistics.”
Some online forms also require you to stick to a specific word count or whatever you enter will be cut off by the form’s programming. In the Review tab in the ribbon, there is an option for word count that shows the number of characters (with or without spaces), words, and lines.
Candela Citations
- Microsoft Word. Authored by: Susan Kendall. Provided by: Lumen Learning. License: CC BY: Attribution
- Line and Paragraph Spacing. Provided by: Lumen Learning. Located at: https://courses.lumenlearning.com/wmopen-compapp/chapter/line-spacing/. License: CC BY: Attribution
- Lists. Provided by: Lumen Learning. Located at: https://courses.lumenlearning.com/wmopen-compapp/chapter/lists/. License: CC BY: Attribution
- Spell Check and Dictionaries. Provided by: Lumen Learning. Located at: https://courses.lumenlearning.com/wmopen-compapp/chapter/microsoft-word-spellcheck-and-dictionaries/. License: CC BY: Attribution
- Headers and Footers. Provided by: Lumen Learning. Located at: https://courses.lumenlearning.com/wmopen-compapp/chapter/headers-and-footers/. License: CC BY: Attribution
- Formatting text like a pro in Microsoft Word - Word 2016 Tutorial [5/52]. Authored by: Bring Your Own Laptop. Located at: https://www.youtube.com/watch?v=ZDF3-9e_7tA. License: All Rights Reserved. License Terms: Standard YouTube License